Understanding the Arizona Deer Draw: A Complete Guide for Residents and Non-Residents

If you’re new to hunting in Arizona or just tired of being confused every time draw season rolls around, this article is for you. Arizona’s big game draw system is one of the better ones in the West once you understand how it works, but it has enough moving parts that a lot of hunters make costly mistakes every year. Missing a deadline, having your card declined, or applying for the wrong hunt code can cost you a year of bonus points or a tag you should have had. Let’s break it all down.


What Is the Arizona Deer Draw?

Almost all deer hunting in Arizona requires you to draw a tag through the Arizona Game and Fish Department (AZGFD) lottery system. There are no walk-in tags at a sporting goods store for deer in most cases. You apply during a specific window each year, and AZGFD runs a draw to determine who gets tags. If you don’t draw, you earn a bonus point that improves your odds the following year.

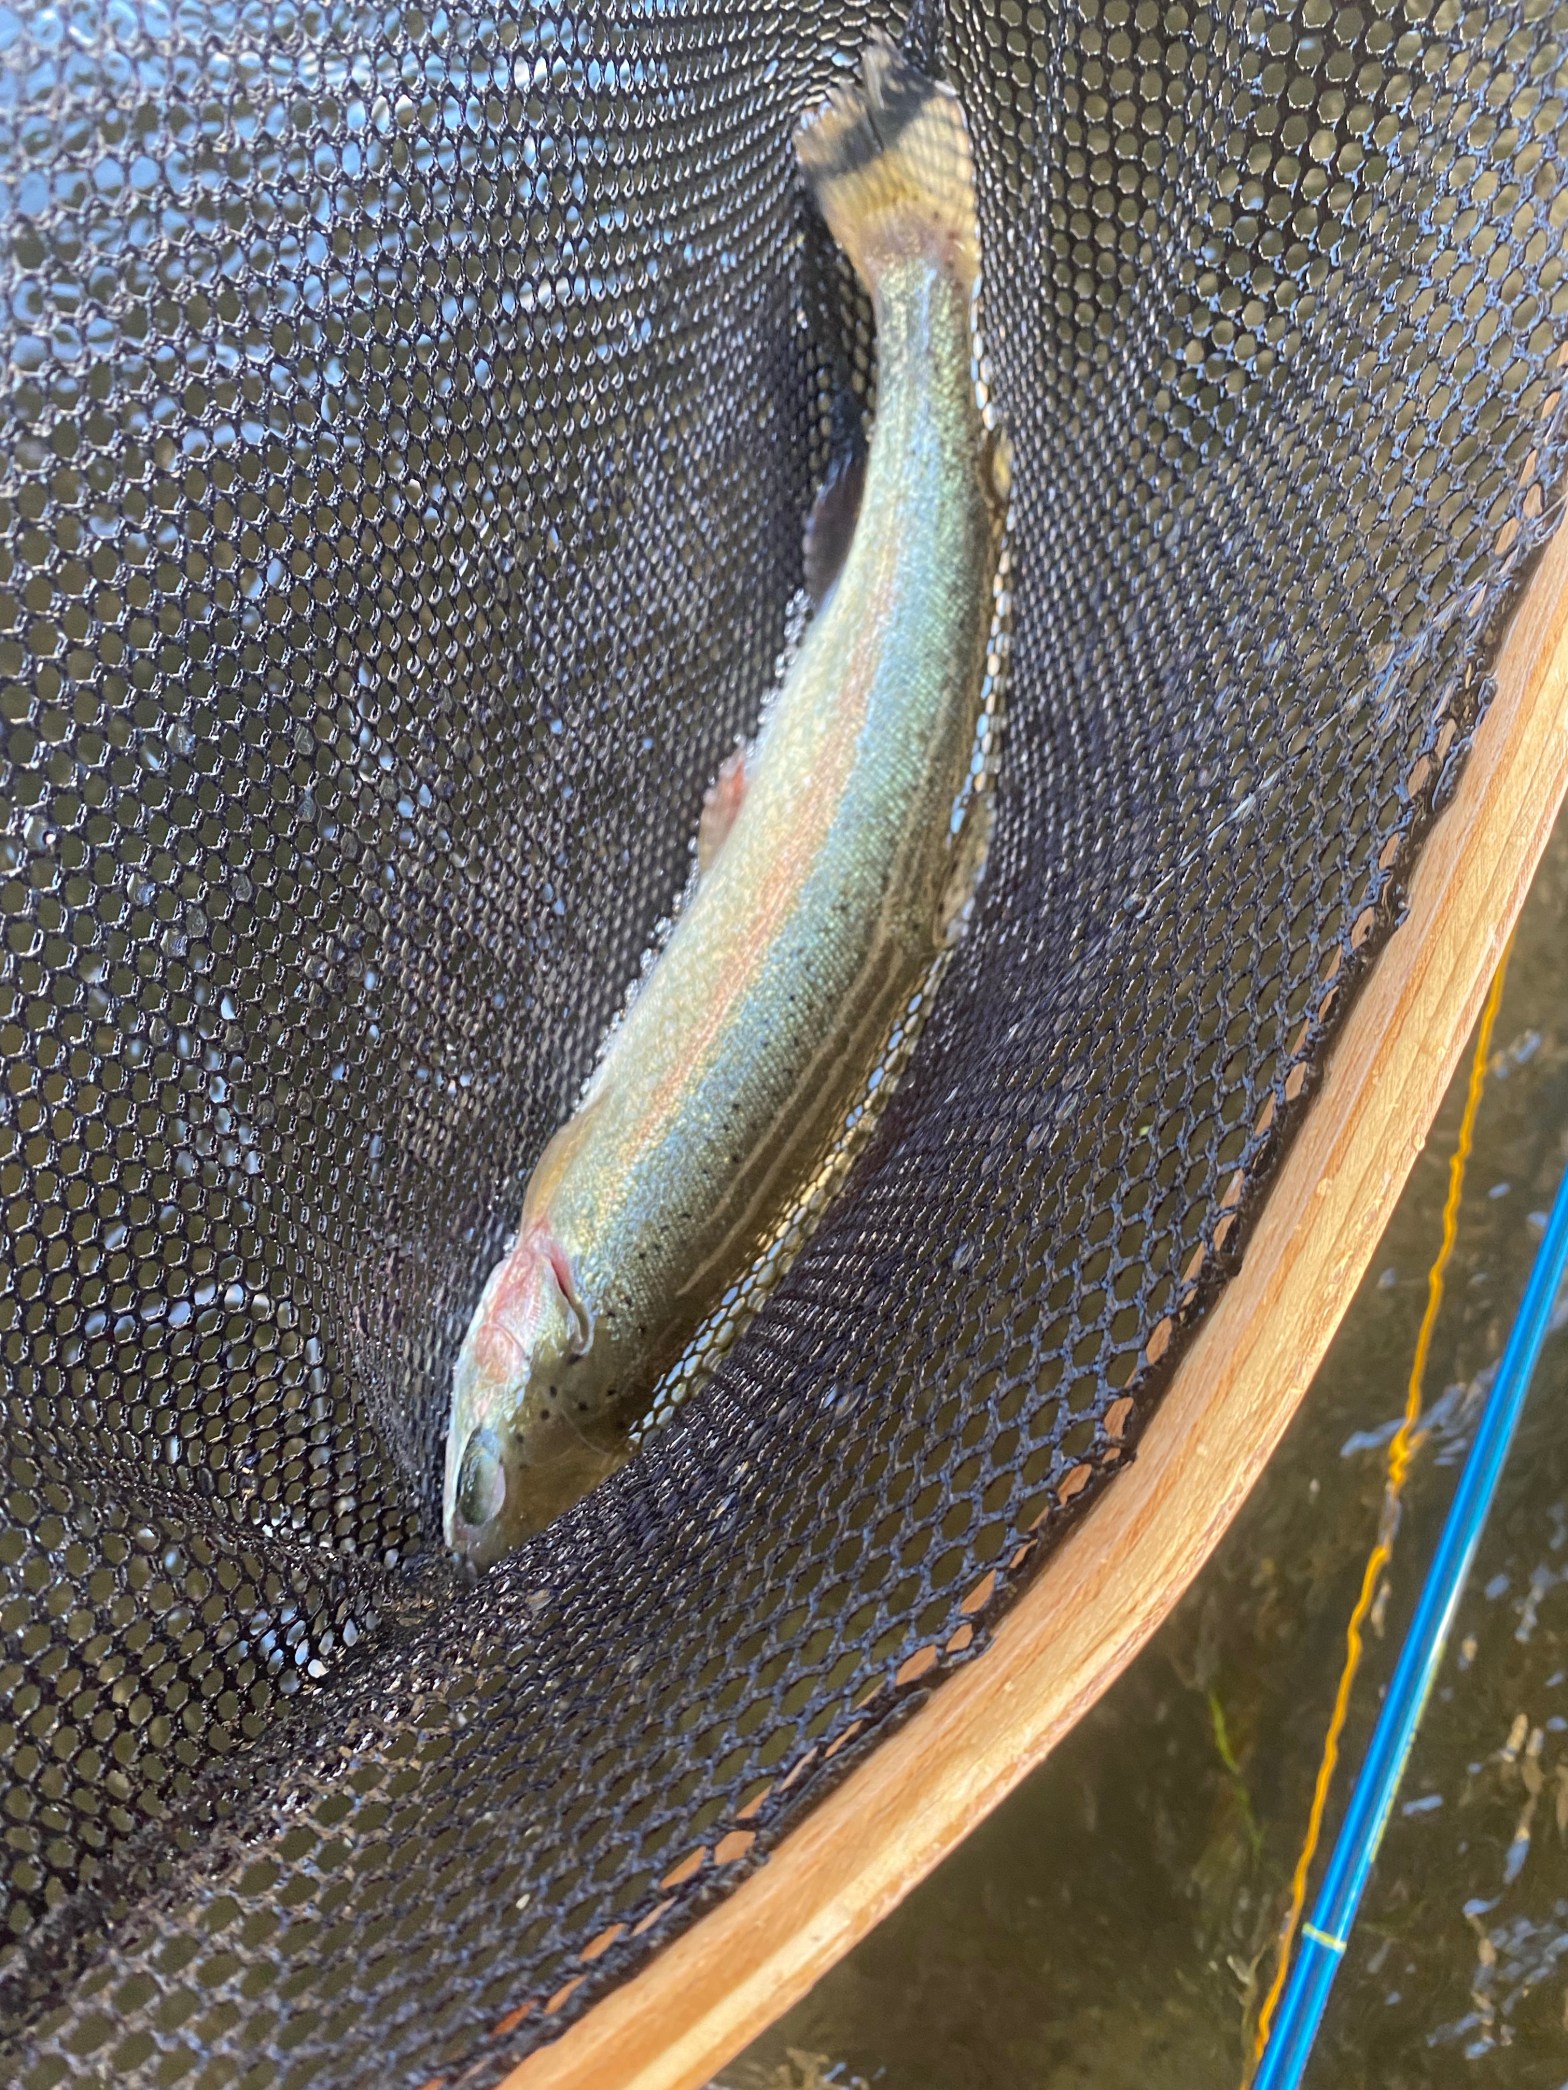
Arizona offers both Coues whitetail deer and mule deer through the draw, and the two are handled in the same application cycle.


The Two Draw Cycles You Need to Know

Arizona runs two main draw cycles each year and deer falls into the second one.

The first cycle covers elk and pronghorn. The application window typically opens in January and the deadline falls on the first or second Tuesday of February. For 2026 that deadline was February 3rd.

The second cycle is the one deer hunters care about. It covers Coues deer, mule deer, bighorn sheep, fall bison, and sandhill crane. The application window opens in May and the deadline falls on the first or second Tuesday of June. For 2026 the deadline is around June 9th. Draw results for deer typically come out in late June or early July, about six to eight weeks after the deadline.

Mark both of these dates on your calendar every year and treat them like they are carved in stone, because they are.


How the Bonus Point System Works

Arizona uses a bonus point system to reward hunters who apply consistently over time. Here is how it works:

Every year you apply and do not draw a tag, you receive one bonus point for that species. The more bonus points you have, the better your odds of drawing in future years. Points are species specific, meaning your deer points cannot be used for elk and your elk points cannot be used for deer.

There is also a loyalty point system. If you apply for the same species for five consecutive years you automatically receive an additional loyalty point on top of your regular accumulation. If you skip a year and fail to apply for a species for five consecutive years, your bonus points for that species are purged entirely. This is one of the most painful mistakes a hunter can make, so never skip a year even if you don’t plan to hunt.

Arizona also offers a lifetime bonus point for completing the AZGFD hunter education course. For residents the course costs $150 and for non-residents it costs $300. It is worth doing because that one extra point applies to every species you ever apply for in Arizona. It can take a couple of weeks to a month for the point to show up in your account so don’t wait until the last minute.


How the Draw Actually Works

Arizona’s draw system has three passes, which is what makes it unique and why even hunters with zero bonus points have a real shot every year.

In the first pass, all applicants are sorted by bonus points. Those with the most points get priority. This is where the majority of premium tags go.

In the second pass, applications are randomly assigned numbers regardless of bonus points. This is the random pool, and it accounts for about 20 percent of available tags. Any applicant in the draw has a chance here, even someone applying for the first time.

In the third pass, any remaining leftover tags are distributed. By this point most tags are already gone but occasionally a few slip through.

You submit up to five hunt choices per species but Arizona only considers your first and second choice in the main draw, so put real thought into those top two selections.


What It Costs to Apply

Before you apply you need a valid Arizona hunting license. For residents that costs $37. For non-residents the combination hunting and fishing license runs $160. That license must be valid on the application deadline or your application is void.

On top of the license you pay a non-refundable application fee of $13 per species for residents and $15 per species for non-residents. You pay this whether you draw or not.

If you draw a tag, AZGFD automatically charges the card on file for the full tag fee. If your card is declined they will not call you, email you, or give you a second chance. They move on to the next applicant. Make sure your card is current and has enough room on it before results come out.


Non-Resident Hunters: What You Need to Know

Arizona caps non-resident tags at 10 percent of the total available for each hunt code. For popular deer units this makes competition stiff. Non-residents need to be strategic about which units they apply for and have realistic expectations about draw timelines for premium hunts.

The good news is that the random 20 percent pool applies to non-residents too, so there is always a chance. The smartest approach for non-residents is to apply every single year without fail, build points steadily, and target units where the point creep is manageable.

If you are timing your license purchase to cover both the February elk draw and the June deer draw in the same year, buy your license early enough that it remains valid through the June deadline. Arizona licenses are valid for 365 days from purchase, not just the calendar year, so timing matters.


Over the Counter Deer Tags

Not all Arizona deer hunting requires a draw. Arizona does offer over the counter tags for both Coues deer and mule deer in certain areas. These typically go on sale in November and are available online through the AZGFD portal. You still need a valid hunting license to purchase one. OTC tags are a great option for newer hunters who want to get into the field while building bonus points for premium draw hunts.


How to Apply Step by Step

First, go to azgfd.com and create a portal account if you don’t already have one. You will need a Customer ID which you can retrieve through the AZGFD portal.

Second, purchase your Arizona hunting license through the portal.

Third, when the application window opens in May, log back in and select Apply for a Draw. Choose your hunt codes carefully, putting your best two choices first.

Fourth, make sure your payment card on file is current and has no expiration issues before June.

Fifth, check your email and portal account in late June or early July for draw results.


Tips to Maximize Your Odds

Apply every single year without exception. Missing a year costs you points and can wipe out your entire accumulated total after five years.

Complete the AZGFD hunter education course as soon as possible to lock in your lifetime bonus point for all species.

Research hunt codes before you apply. Some units have dramatically better draw odds than others. The AZGFD website publishes draw odds data from previous years which is extremely useful for planning.

Put your two best choices first. Arizona only considers your first and second choice in the primary draw passes so the remaining three choices rarely come into play.

Keep your contact and payment information updated in your portal account year-round, not just during application season.

If you are not hunting a particular year, submit a bonus point only application. It costs the same as the application fee and keeps your point total growing without requiring you to commit to a hunt.


Key Dates to Remember Every Year

Deer draw application window: opens in May

Deer draw deadline: first or second Tuesday of June (around June 9th for 2026)

Draw results: late June or early July

OTC tags on sale: November

Always verify exact dates on the AZGFD website each year as they can shift slightly. Do not rely solely on this article or any other third party source for final deadlines.


Final Thoughts

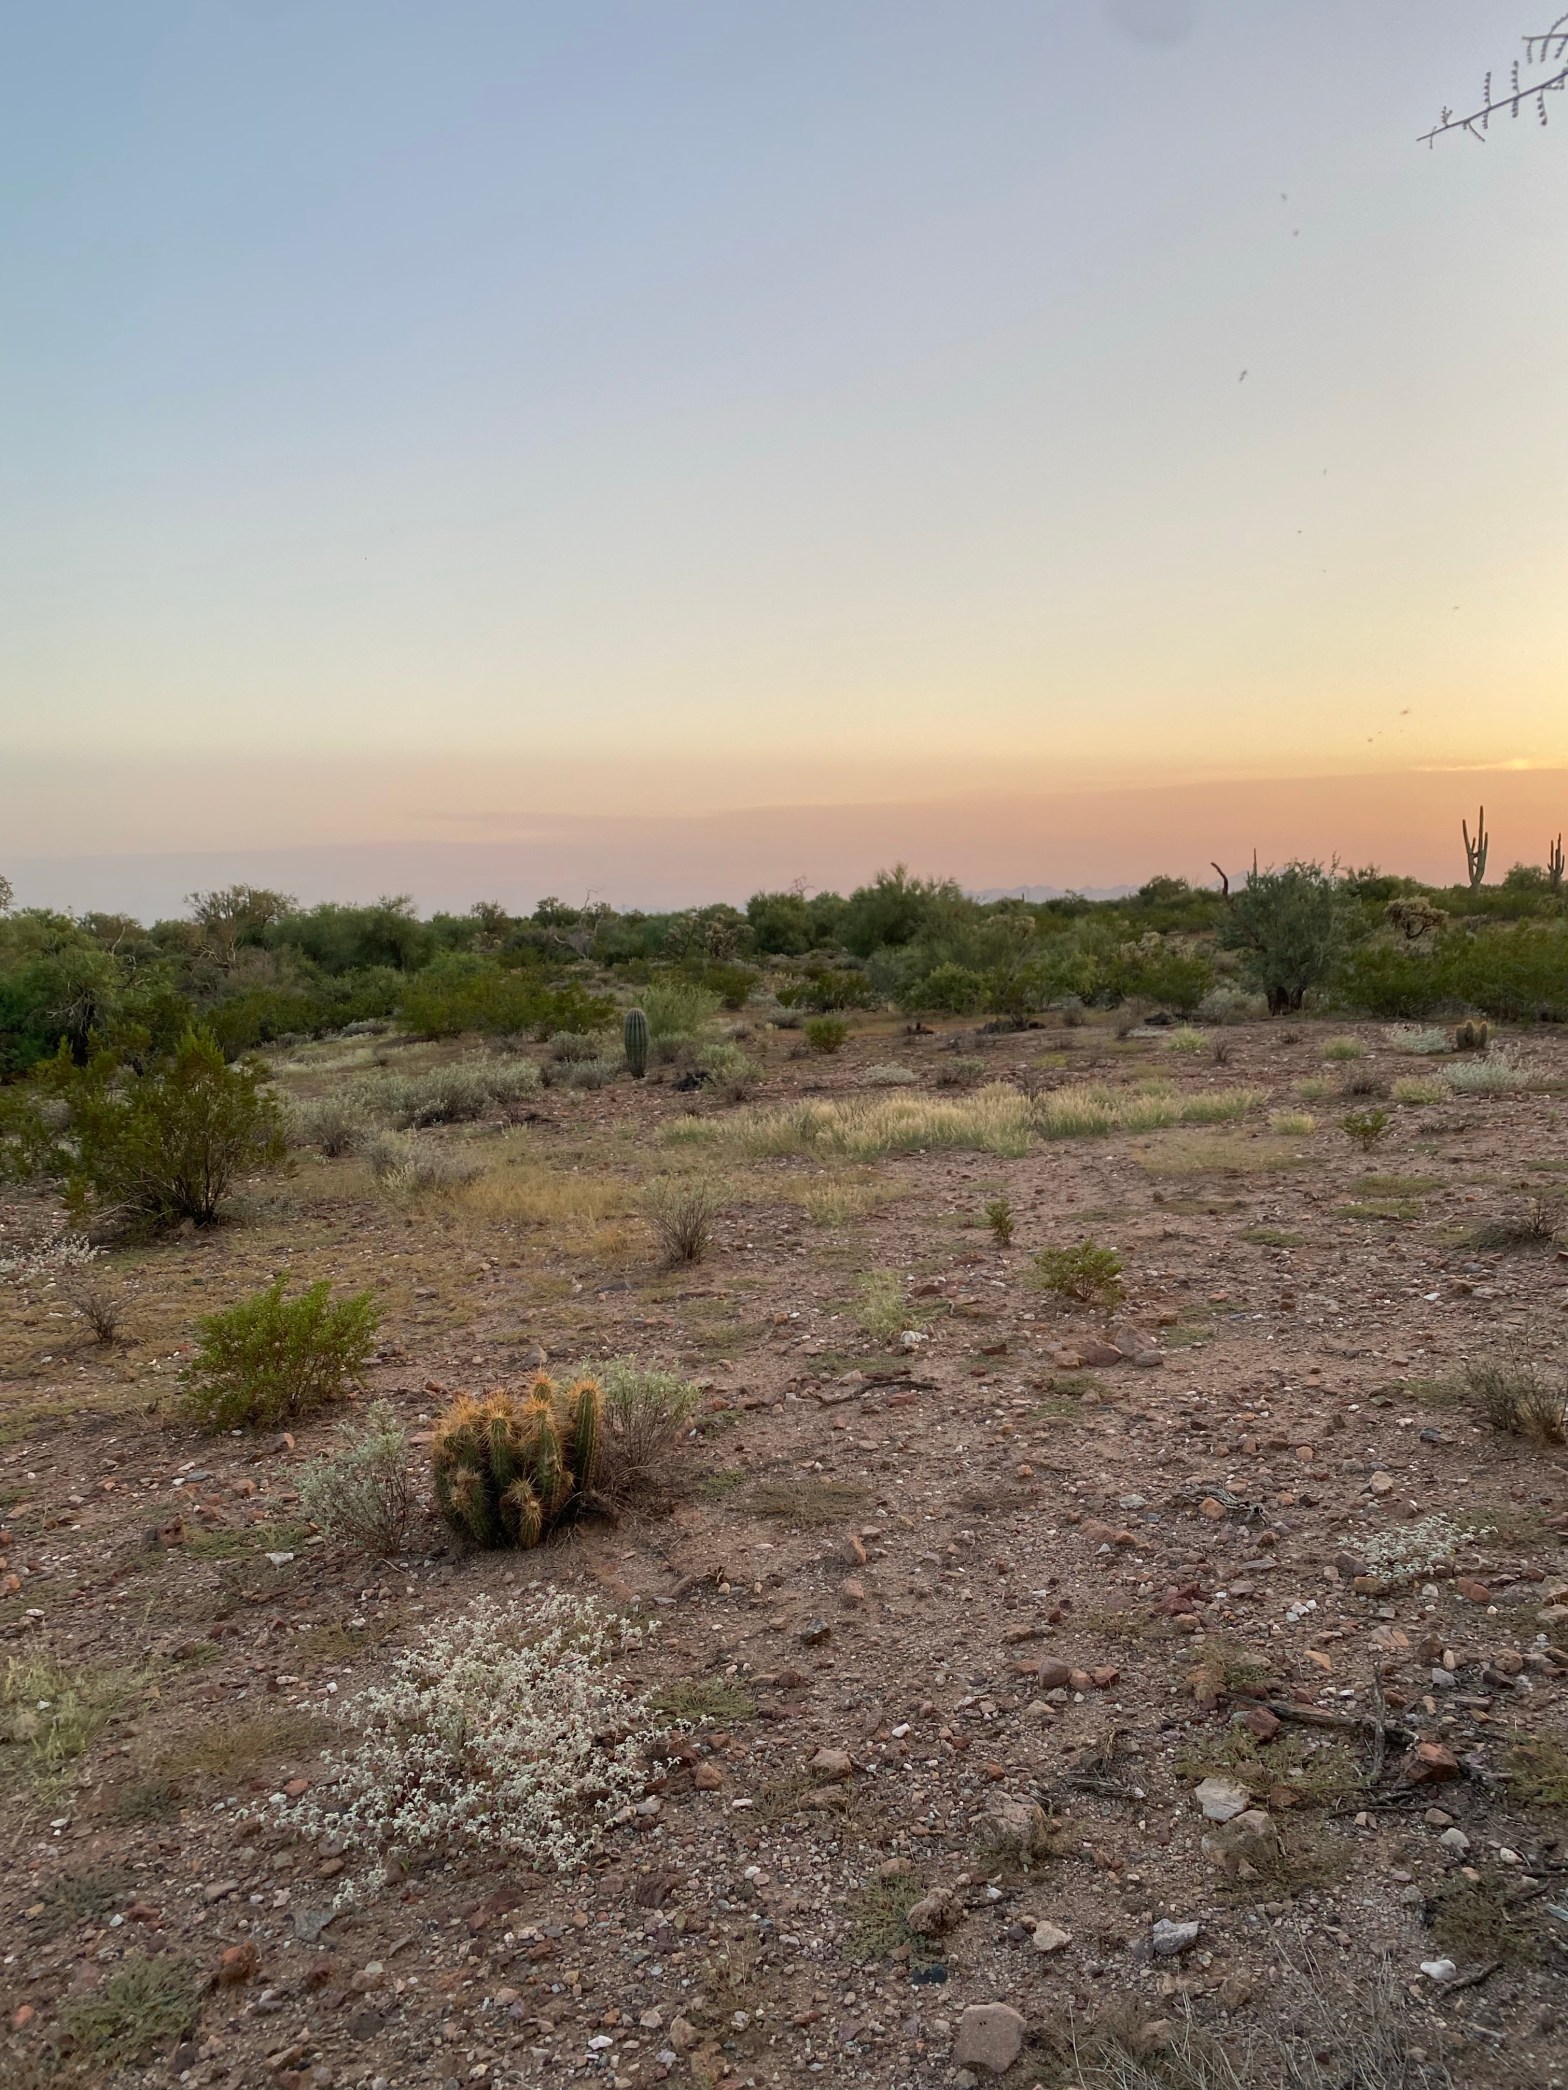
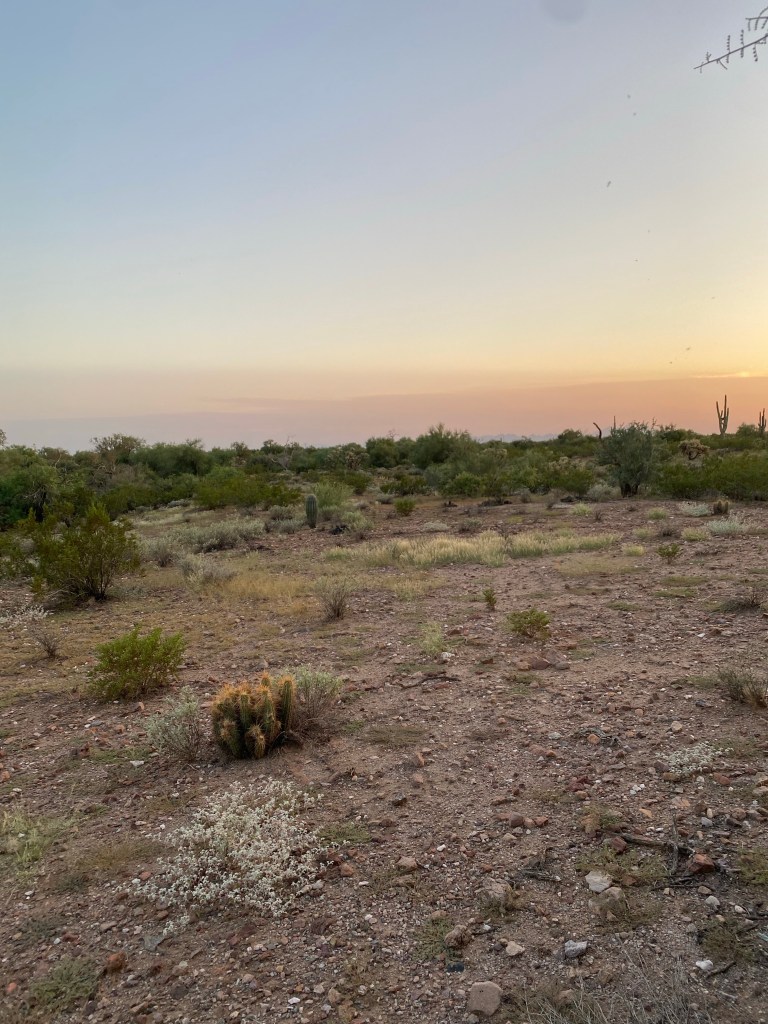
The Arizona deer draw rewards patience and consistency more than anything else. Build your points every year, do your research on hunt codes, keep your account information current, and never miss a deadline. The sky islands of southern Arizona hold some of the best Coues deer hunting in the world and the mule deer units in the north are equally special. Put in the time with the draw system and eventually Arizona will hand you the hunt of a lifetime.

For more information or to apply, visit the Arizona Game and Fish Department at azgfd.com.

Ready to Hunt? Check Out Our Coues Deer Hunting Guide

So you’ve put in your application and now the waiting game begins. While you’re stacking up those bonus points and dreaming about where you’ll be glassing this fall, head over to our article on hunting whitetail deer in Arizona. We break down all the major hunting regions across the state, the gear that actually makes a difference in Arizona’s rugged terrain, and the tips that will help you put a Coues buck on the ground when your tag finally comes through. It’s worth a read whether you’re a first timer or a seasoned Coues hunter looking to try a new part of the state.


Disclosure: This blog is for informational purposes only. Always verify current deadlines, fees, and regulations directly with the Arizona Game and Fish Department at azgfd.com before applying. Rules and dates change each year.

Hunting Whitetail Deer in Arizona: A Complete Guide to Coues Deer Country

If you’ve never hunted Arizona whitetail, you’re missing out on one of the most challenging and rewarding deer hunts in North America. Arizona’s whitetail deer, commonly known as Coues deer (pronounced “cows”), are a subspecies of whitetail that live in some of the most rugged and beautiful terrain this country has to offer. They’re smaller than their northern cousins, incredibly wary, and they’ll humble even the most experienced hunters.

I’ve spent a lot of time chasing these deer across Arizona and I want to break down the different regions, what to expect, and the gear that’s actually helped me put tags on deer.


What Are Coues Deer?

Coues deer are the whitetail deer of the Southwest. They’re smaller than typical whitetails, with bucks averaging around 100 pounds, but what they lack in size they make up for in toughness and survival instinct. Their gray coat blends almost perfectly into Arizona’s rocky hillsides and oak brush, which makes spotting them a serious challenge. A mature Coues buck is considered one of the trophies of North American hunting, and for good reason.


Hunting Coues Deer by Region

Southern Arizona (Units 33, 34A, 36A)

This is the heart of Coues deer country. The sky island mountain ranges of southern Arizona, including the Huachucas, Santa Ritas, Rincons, and Chiricahuas, hold some of the best Coues deer populations in the state. Elevations range from around 4,000 feet in the foothills up to 9,000 feet in the upper canyons.

The hunting style here is almost entirely spot and stalk. You glass from a high vantage point, find a buck, plan a stalk, and cover ground. Shots can range from 50 yards in thick oak brush to 400 yards across an open canyon. You need to be prepared for both.

This region is where first focal plane scopes really earn their keep. I run the Vortex Viper HS-T 2.5-10×32 on my rifle and the adjustability has been a game changer. In thick brush I’m dialing it down to 2.5x for close shots, and when a buck steps out across a canyon I can crank it up and use the reticle for holdovers at distance. The first focal plane means the reticle markings are accurate at any magnification, which matters when you’re ranging a deer at 300 yards and need a precise holdover fast.

Check out the Vortex Viper HS-T on Amazon

Central Arizona (Units 22, 23, 24A)

The Mazatzal Mountains and surrounding ranges in central Arizona are underrated Coues country. This area gets less pressure than the southern units, which means more mature bucks if you’re willing to put in the work. The terrain is steep, brushy, and unforgiving. Saguaro cactus gives way to chaparral and then ponderosa pine as you climb.

Glassing is critical here. Central Arizona canyons are deep and wide, and you can cover a lot of ground with your eyes before your boots. I glass for hours before committing to a stalk. Having quality optics is not optional, it’s the difference between finding deer and driving home empty handed.

I use two sets of binoculars depending on the situation. For general glassing from a fixed position I use the Vortex Viper HD 10×42. The clarity is exceptional and after years of use I can tell you the glass holds up. Vortex’s VIP lifetime warranty means if anything ever goes wrong they fix or replace it no questions asked, which in this kind of rough country matters a lot.

Check out the Vortex Viper HD Binoculars on Amazon

When I’m on the move and covering ridgelines I switch to my image stabilized binoculars. These are genuinely the coolest piece of gear I own. The built-in stabilization cuts out all the shake from your hands and breathing, which means you can actually pick apart a hillside while standing or walking without needing a tripod. In country where every pound matters, ditching the tripod and bino adapter is a real advantage.

Check out the Sig Sauer Stabilized Binoculars on Amazon

Eastern Arizona (Units 27, 28, 30A)

The White Mountains region and the areas east toward the New Mexico border offer a different flavor of Coues hunting. Higher elevations and heavier timber mean you’re hunting more like a traditional whitetail hunter, using terrain features and travel corridors rather than pure spot and stalk. Morning and evening movement along creek drainages and oak flats is common.

This is also where you’ll encounter more mixed bag opportunities, with elk, mule deer, and turkey sharing the same country as your Coues buck. It’s a beautiful part of Arizona that doesn’t get nearly enough attention from Coues hunters.

Western Arizona (Units 20A, 21)

This is the toughest and most remote Coues country in the state. The western Arizona ranges are dry, hot during early seasons, and physically demanding. Deer densities are lower but buck to doe ratios tend to be favorable. If you want solitude and a real backcountry experience, western Arizona delivers.

Water sources are everything in this part of the state. Scouting water in the off-season and setting up near reliable tanks and seeps during the season is a proven strategy.


Gear That Makes a Difference

Footwear

Arizona terrain will destroy your feet and your boots if you’re not prepared. Cactus, especially cholla and prickly pear, is everywhere in the lower elevations. I wear Irish Setter VaprTrek boots specifically because of the puncture resistant protection. Nothing ruins a hunt faster than a cholla ball through the side of your boot at mile six of a stalk. These are waterproof too, which matters when you’re crossing creek drainages in the early morning.

Check out the Irish Setter VaprTrek Hunting Boots on Amazon

Rangefinder

Coues hunting demands precise shot placement at distances that vary wildly. You might be making a 60 yard chip shot into a canyon or stretching it to 350 yards across an open hillside. I use the Bushnell Prime 1300 with Bluetooth and angle compensation. The angle compensation is critical in this mountain terrain because a shot angling steeply downhill or uphill requires a different holdover than a flat range. Get this wrong and you’re wounding deer.

Check out the Bushnell Prime Rangefinder on Amazon


Tips for Hunting Coues Deer

Glass first, move second. Coues deer are masters at staying still and letting danger pass. Spend at least an hour glassing any new area before you start moving around and blowing deer out of the country.

Hunt the mornings hard. Coues bucks are most active in the first two hours of daylight. Be on your glassing point before first light.

Use the terrain. Arizona’s mountains are full of drainages, saddles, and benches that funnel deer movement. Learn to read the land and you’ll find deer.

Don’t underestimate the rut. The Coues deer rut typically peaks in late December and January. Bucks throw caution to the wind and cover ground looking for does. This is your best window to spot a mature buck moving in daylight.

Be patient with your stalk. The ground in Arizona is noisy. Dry leaves, loose rock, and crunchy grass make slow careful movement essential. A stalk that looks like 200 yards on a map can take two hours to execute properly.


My Final Thoughts

Hunting Coues deer in Arizona is as good as it gets for western hunting. The scenery is stunning, the challenge is real, and a mature Coues buck on the wall is a trophy by anyone’s measure. Whether you’re hunting the sky islands of the south, the rugged central ranges, the timber of eastern Arizona, or the remote western units, there’s a hunt here that will test you and reward you in equal measure.

Get your glass out, put in the miles, and enjoy every second of it.

Any questions about specific units, access, or gear? Drop a comment below and I’m happy to help.

Check out this article on understanding the Arizona Deer Draw so you can get a tag!


Disclosure: This post contains affiliate links to Amazon. If you purchase through these links I may earn a small commission at no additional cost to you. All gear mentioned is personally used and recommended by me.

Best Trail Cameras of 2026: 7 Picks from a Hunter Who’s Actually Used Them

If you’ve ever driven 45 minutes to your stand only to pull a memory card full of nighttime blurs and false triggers, you know how much a bad trail camera can cost you. Not just in money, but in scouting intel when it matters most.

I’ve run a lot of cameras over the years. Some have been absolute workhorses. Others are still sitting in a box somewhere. After testing a new batch this season, here are the six trail cameras I’d actually recommend to a buddy heading into the 2026 deer season, or any season, for that matter.


  1. Bushnell Core S-4K: Best Overall Trail Camera

If I could only recommend one camera for 2026, this is it. The Bushnell Core S-4K punches well above its price class, and I’ve been genuinely impressed running it on a scrape line this past October.

What I love: The 4K video is overkill in the best way. You can zoom in on a buck’s rack on your phone and actually count points. The No-Glow flash is invisible to deer, and I’ve had mature bucks walk right past it without twitching an ear. Trigger speed of 0.2 seconds means you’re not missing that buck who blows through at a trot.

Honest downside: The app is functional but not pretty. It works fine, just doesn’t feel polished compared to competitors.

Who it’s for: Anyone who wants a reliable, high-image-quality camera without getting into the $300+ territory. This is the sweet spot.

Pros: Exceptional 4K video and 30MP image quality, 0.2-second trigger speed, No-Glow flash won’t spook deer, battery life up to 12 months, solid weather-resistant build.

Cons: App could use an update, no cellular option, slightly bulkier than competitors.

Check price on Amazon


  1. Stealth Cam Fusion X: Best Cellular Trail Camera

Cellular cameras changed scouting forever, and the Stealth Cam Fusion X is the one I keep coming back to. Real-time photo alerts straight to your phone means no more burning boot leather checking cameras during the season.

What I love: The dual-network capability is a big deal. It connects to both AT&T and Verizon automatically, picking the stronger signal. Out here in the hills, that matters a lot. Nighttime shots at 26MP are sharp enough to make real scouting decisions.

Honest downside: You need a data plan around $5/month, so factor that into your budget. Battery life also takes a hit, so budget for lithium AAs or a solar panel add-on.

Who it’s for: Serious hunters who want to scout from the couch and save their in-woods presence for when it counts.

Pros: Dual-network cellular (AT&T + Verizon), fast photo delivery, sharp 26MP photos, solar panel compatible.

Cons: Requires monthly data plan, higher battery drain, low-glow flash (not no-glow).

Check price on Amazon


  1. Browning Strike Force Pro: Best Budget Trail Camera

Don’t let the price fool you. The Browning Strike Force Pro is genuinely good for under $70, and it’s the camera I’d hand to a new hunter or anyone building out a large grid of cameras on a budget.

What I love: 18MP is more than enough to identify deer, and the 0.22-second trigger is surprisingly fast for this price. The compact form makes it easy to strap on a skinny sapling or tuck into tight spots.

Honest downside: No video audio, and nighttime photos fade past about 50 feet. You get what you pay for, but you also get more than you expect at this price.

Who it’s for: Budget-conscious hunters, beginners, or anyone who wants to blanket a property with cameras without spending a fortune.

Pros: Excellent value under $70, fast 0.22-second trigger, compact form factor, reliable Browning build quality.

Cons: No audio on video, nighttime range about 50 feet, no cellular option.

Check price on Amazon


  1. Moultrie Mobile Edge: Best App Experience

If you live on your phone and want the smoothest cellular scouting experience available, the Moultrie Mobile Edge is the pick. Moultrie has invested heavily in their app, and it shows.

What I love: Genuinely the best hunting camera app right now. Manage multiple cameras, organize by location, share photos with your crew, and set up AI deer detection so you only get notified on the photos that matter.

Honest downside: 0.5-second trigger is the slowest on this list. Fine for scrapes and feeders, but I wouldn’t put it on a run trail where deer are moving fast.

Who it’s for: Tech-forward hunters, those running multiple cameras, or anyone who hunts with a group and wants easy photo sharing.

Pros: Best app in the business, AI deer detection alerts, easy multi-camera management, great for hunting groups.

Cons: Slowest trigger at 0.5 seconds, requires data plan, 20MP is good but not great.

Check price on Amazon


  1. Tactacam Reveal X-Pro: Best Value Cellular Camera

The Tactacam Reveal X-Pro shook things up by offering cellular features at a price that wasn’t insane. It’s still one of the best bang-for-buck cellular cams you can buy.

What I love: Data plans as low as $3/month make running multiple cellular cameras actually affordable. Image quality at 26MP is excellent, and LTE connectivity has been rock-solid in my experience.

Honest downside: The app still lags behind Moultrie in polish, and customer support can be slow during peak season.

Who it’s for: Hunters who want cellular capability without paying cellular prices. Great middle ground.

Pros: Plans from around $3/month, sharp 26MP images, strong LTE signal performance, good nighttime image quality.

Cons: App not as refined as Moultrie, customer service can be slow, bulkier than some competitors.

Check price on Amazon


  1. SpyPoint Flex-M: Best for Beginners

SpyPoint has always had a reputation for approachability, and the Flex-M carries that forward. If you’re setting up trail cameras for the first time, this is the one that won’t frustrate you.

What I love: The 0.07-second trigger is the fastest on this entire list. Setup is dead simple, and the free plan lets you try cellular scouting without committing to a paid plan right away.

Honest downside: The free plan caps photos quickly, and low-light shots can occasionally wash out.

Who it’s for: New hunters, casual scouters, or anyone who wants to dip a toe into cellular cameras without much risk.

Pros: Fastest trigger on the list at 0.07 seconds, free data plan available, easiest setup process, 33MP image quality.

Cons: Free plan photo limits are low, low-light images can wash out, will likely need a paid plan eventually.

Check price on Amazon


What to Look for in a Trail Camera

Trigger speed is king. A slow trigger (0.5+ seconds) will miss deer moving at a trot. Anything under 0.3 seconds is solid.

Flash type matters for mature deer. White flash gives the best night color photos but spooks mature bucks. No-glow is invisible and what I run on pressured deer.

Cellular vs. standard comes down to how much you care about minimizing your in-woods presence. Cellular costs more upfront but saves you a ton of intrusion during season.

Resolution is often oversold. You don’t need 42MP to ID a shooter buck. Anything above 18MP is more than adequate for scouting.

Battery life is massively underrated. Cheap AAs drain fast in cold weather. Budget for lithiums or a solar charger if running cameras year-round.


My Final Pick

If I’m being straight with you, the Bushnell Core S-4K is the best trail camera for most hunters in 2026. It nails image quality, trigger speed, and battery life at a price that doesn’t require a second mortgage.

On a tight budget? Grab the Browning Strike Force Pro and put the savings toward a better stand location.

Any questions about setups, placement, or which camera fits your property? Drop a comment below and I’m happy to help you dial it in.


Disclosure: This post contains affiliate links to Amazon. If you purchase through these links, I may earn a small commission at no additional cost to you. I only recommend gear I’ve personally tested or researched thoroughly.

How to Hunt Dove in Arizona

Doves fly in small flocks usually. I was able to get these in about 15 minutes all flying in groups of two.

Arizona has some of the best dove hunting.

I had a great season in 2021 and this is the time where I start looking for things that will give me the edge next season.

I currently live in the Mesa/ Gilbert area and I like to hunt doves in that general area.

Unfortunately my favorite dove field has been replaced by a brand new subdivision so I had to go out and find a few more replacement spots.

First you want to find where the dove are flying so you know where to set up to hunt.

Dove follow follow a path when they fly and need bare open ground or a a pretty open branch to land on since they have tiny little weak legs.

I was able to simply sit near a bush in this area and that provided enough cover for me to shoot from. Notice the open ground for the Dove to come fly in and land and eat seeds from that grass.

I like to start by positioning myself near a large water source like the canals or a river.

From there I’ll watch to see where the birds are flying. I like to hop up on a hilltop and glass the surrounding area.

If you’re near a water source in the desert you’ll see dove. The trick is to watch where they are flying to.

Once I see the direction they’re flying I like to look for a landmark, because doves tend to fly point to point following large landmarks.

Once I see the path the doves are flying I’ll go walk it to find a good place to set up.

WHen I’m looking for somewhere to set up I look for naturally choke ponts like hills or trees thatwill funnel the birds into one area.

I also look to see if they are landing anywhere already and I look for spots where they are likely to land.

They eat seeds so I’ll look for a spot with some light foliage but plenty of bare ground so that they can land.

Setting Up Your Shooting Position

Once I have found a place where I have seen the dove land I am in a flight path I’ll look for somewhere to set up.

You don’t have to hide that much to hunt dove. Basic camo and sit next to a tree or bush and hold still.

I’ll just wear some inexpensive camo clothing and that is usually more than enough.

I like to find a big bush or tree to stand by or in front of and that hides me enough. With Dove just don’t stand in the open.

I’ll set out 1-2 mojo birds and a few regular dove decoys. I’ve also been having a lot of success using the mojo dove-a-flickers.

Side Note: If you’re going to buy a bunch of decoys for dove the links above will take you to exactly what I use, but you can usually get deals right after a season ends.

I’ll set the mojo and decoys up above the ground on the highest spot so that they are easily visible from as many directions as possible.

Once you’re set up you should have some doves fly in to check out your decoys or if you’re in a busy enough flight path they’ll be flying over.

Wiat to take your shot until the dove is actually in range. If you shoot early you’re only going to injure the bird.

I try and shoot them within 30 yards that way they go down rather than just getting injured. This is why decoys can help so much.

Equipment

I typically take a 12 gauge or 20 gauge, but I prefer the 12 gauge.

I use a simple 1 oz #7.5 shot load that I reload that is pretty similar to a Winchester AA, but #7.5 or #8 shot target load is perfect for dove.

Depending on the time of the season you can get pretty close to the dove. I’ll start the season with an improved cylinder choke and switch to a modified as the doves keep more distance.

Remember to have fun and be responsible so we can continue to enjoy dove hunting.

Read about Bass Fishing on The Salt River

Disclaimer: I only recommend products I have used and truly would use again. Some of the links on this site are affiliate links and may result in me getting a commission though they don’t affect my reviews.

Bass Fishing on The Salt River

The Salt River is a great place for largemouth bass fishing.

Fisrst thing to know is how the water level changes on the river.

During the river they open the Stewart Mountain Dam at Saguaro Lake and the river will be flowing around at 1000-1500 cubic feet per second, but during winter they can lower it all the way down to 8 cfs.

During the summer when the waterflow is heavy you won’t find Bass in the rapids as much.

The bass will position themselves in slow pools just outside of the waterflow usually on rocky outcroppings on the side of the river.

They’ll also hide behind large rocks in the middle of the river as well as downed trees that end up in the river or along the bank.

Bass will hide in these spots orient themselves to look up river and catch food as it flows down the river. This is key to catching bass. They won’t eat what they don’t see.

Once you have identified a place with cover where bass could be cast just beyond that spot and pull your lure back past where you think the fish is.

This pool on the Salt River is the perfect example of where Largemouth Bass can be found. I caught this one with a plastic crawdad.

In the winter when the water is lower I still like to look for small pools that a bass could be resting in but I’ll find them out in the middle of the river as well.

Remember to go slower in the winter as well since the bass slowdown as well with the cold.

If there is a lot of grass I like to pull a weedless lure through those as well, because largemouth bass love to hang out there and strike at passing fish.

I’ll also slowly pull spinners through the open water when it’s calm and actually have had quite a bit of luck.

If you’re in an area without a lot of weeds jerkbaits work really well on the Salt River.

Just simply cast out and do a few jerks on the lure using the rod then reel in the slack.

On really rocky sections near the bank I’ve had a lot of luck with plastic Crawdads on an offset hook with a bullet sinker.

With the plastic crawdads its really easy to take the exposed part of the hook and have it barely popping out of the crawdads back so that it doesn’t catch onto all the weeds.

Little Largemouth Bass I caught with a wooly bugger on a fly rod

So the most important thing when bass fishing is to always be looking for resting spots where the bass are likely to hang out. These are always the best places to try first.

Good luck, have fun and remember to pick up after yourself.

Read About Trout Fishing on the Salt River

Disclaimer: I only recommend products I have used and truly would use again. Some of the links on this site are affiliate links and may result in me getting a commission though they don’t affect my reviews.

Trout Fishing on Big Lake, Arizona

Big Lake is located in Northern Arizona just outside Greer, Arizona.

Big Lake is known for it’s trout fishing, and every year they stock it in fall with nearly half a million Rainbow and Cutthroat trout fingerlings that grow up and behave like wild trout.

Since these fish grow up in the lake they behave differently than the trout that are seasonally stocked in the phoenix area.

My preferred method is to rent a boat at the shop there and go out on the lake with rooster tails, spoons and spinners.

All 3 of those you’ll want to cast out towards the shore or a feeding area and just do a slow steady retrieve back.

That’s all there is to it. The lake is stocked very well if you aren’t catching fish switch lures or move to a slightly different spot.

Depending on the time of day you’ll want to go deeper. If it’s a hot day and it’s been hot go deeper. If it’s cold out and the water is cold go to the shallow areas where the trout can corner the bait fish in shallow water.

When using a lure always look for small minnows and baitfish swimming in the water.

Cast so that you can drag your lure through the school of baitfish. Trout eat baitfish and wherever they are you’ll find trout.

If you’re fishing from the shore the same lures will work, but I’d take advantage of Arizona’s two pole privilege and throw another baited hook out there.

To use bait I recommend using a floating powerbait with a splitshot about 6-18 inches above the hook so that the bait floats off the bottom.

The other alternative that I prefer, because I’ve had better results is to use a night crawler and a bobber.

Situate your bobber about 12-36 inches above the worm and get it out there.

Worms work really well up in the white mountains, because the fish are used to them there naturally.

In fact, if you buy night crawlers in Arizona they probably came from the White Mountains.

Cutthroat Trout I caught with a night crawler at Big Lake.

If you’re fly fishing I like to watch the water if I see trout surfacing I’ll throw a dry fly otherwise I try a few different streamers.

When picking a lure, fly or streamer always remember bright day bright lure, dark day dark lure. Clear water flashy lure and murky water noisy lure.

Have fun and remember to pick up after yourself so we can continue to enjoy Big Lake.

Check out Trout Fishing on the Salt River

Disclaimer: I only recommend products I have used and truly would use again. Some of the links on this site are affiliate links and may result in me getting a commission though they don’t affect my reviews.

How To Fly Fish for Trout on The Lower Salt River

If you’re like me every year you look forward to when they stock The Lower Salt River with trout every year.

Each year around fall they lower the water level in The Lower Salt River in order to fill the reservoirs.

The water flow goes from about 1100 cubic feet per second down to as low as 8 CFS. You can look up the current water flow on the USGS website.

For the Salt River your basic 9 foor 5 weight rod will handle anything you encounter. Personally I have been using my redington rod and reel.

You can check out my bait fishing for trout article or my article on using lures for trout.

My strategy changes up a little based on whether or not they just stocked the river.

I’ve been there and they’ve dumped the trout truck right in front of me and I had schools of trout swimming around my legs.

Most of what I do in the Salt River involves the dead drift method in one way or another.

If the trout were just stalked I’ll try out a few different colored Glo-bugs.

Rainbow Trout I caught with a pink Glo-bug at pebble beach. I let this one drift down the river on the bottom.

I’ll tie these on a 6x tippet with just a tiny split shot to take it below the surface.

With this set up many anglers find it easier if they use a strike indicator as well. It lets you see what you can’t feel since there will be slack in the line.

Cast up river at an angle and just let your line drift down with the current. It’s important to periodically mend the line so that the river isn’t pulling your lure making it appear unnatural.

The other technique I employ if the fish have been there for a few days as they become more wild is to dead drift a nymph or dry fly.

When picking a fly I always try to match the hatch. Look around and see what bugs are landing on the water and often you’ll see trout surfacing to eat them.

If you see the trout surfacing to eat flies then use a dry fly that matches the flies on the river at that time.

Put a little bit of floatant on the fly to keep it on the surface. I personally use Gink. It’s easy to use and they make nifty carriers to go on your vest.

Once again yoou’re going to cast up river and let the fly drift down with the current.

Try casting and letting the fly drift down different parts of the river.

You will have a much better experience if you bring waders so you can get out in the water closer to the fish and not compete with everyone on the shore.

I actually found a really cheap decent pair on amazon. You can get them here, but I really prefer my nicer pair but they aren’t necessary you can see them here if you’re interested.

Nymphing works great in the Lower Salt River. What I like to do is tie a dry fly on with some gink on it and then tie a nymph about 24 inches below it.

This allows the nyph to bounce along the bottom and the dry fly acts like an indicator that also catches fish.

If the water is very fast and white I’ll skip the dry fly in favor of a strike indicator.

I’ll just use this method 90% of the time on the Salt River and it tends to be the easiest method by far.

As far as fly selection I’ll usually buy a variety of size 12-18 of both dry flies and nymphs.

As the season progresses I’ll see what is working and match the hatch and start buying individual flies that are more fitting, but to start the season I always just buy a variety and have fun.

Sometimes the fly you thought would never work ends up working like a charm.

If you’re here locally I recommend buying individual flies from Sportsmans warehouse. They’re close by in mesa and have the best deals in the area.

Make sure to have fun on the Salt River and pick up after yourself. Also you might get lucky and see the wild mustangs roaming the river banks. They’re harmless as long as you stay out of their way.

Disclaimer: I only recommend products I have used and truly would use again. Some of the links on this site are affiliate links and may result in me getting a commission though they don’t affect my reviews.

Trout Fishing on The Lower Salt River using Fishing Lures

If you’re like me you enjoy fishing with a lure much more than just casting bait out and waiting for a bite.

To learn what bait to use check out my article on bait fishing the Salt River for trout or my article on fly fishing for trout on the Salt River.

Using a lure makes you feel more proactive and isn’t boring.

I’ve been fishing the Lower Salt River since I was a kid and I’ve picked up a few tips and techniques over the year.

First is what lure to use. I have found for trout that rooster tails by far work the best.

Small spinners and spoons work well also as do small lures that look like bait fish.

Typically I’ll just use a rooster tail, because I have found them to work the best.

First you’ll want to match your rooster tail (or any lure) to the conditions that day.

Remember bright sky bright lure, dark sky dark lure. clear water flashy lure, dark murky water noisy lure.

Also take into consideration what bait fish are swimming around and try and match them to your lure as well.

I’ll typically use a rooster tail that looks like a tiny trout or largemouth bass.

If I’m in a slow moving pool I’ll start by dragging a rooster tail straight down the middle. then methodically cast to one side and then the other to cover all the water.

Once I’ve covered the center i’ll start looking for more structure to try and pull them out of.

Trout like to hide behind rocks so that they can rest. I like to cast just up river of these and pull the lure back over them.

It’s important to go with the waterflow, because trout are usually facing upriver and they’ll be able to see a lure coming at them from upriver.

If you try and pull your lures against the water upriver all day you simply won’t catch anything.

They’re similar to bass where they’ll hang out along the banks as well under cover or in slow pools off to the side so I be on the look out for small pools.

Rainbow Trout I caught with a white rooster tail on the Salt River.

The trout also love to hide behind the bridge pylons at the pebble beach area. If it’s not too crowded that can be a great section of the river.

Presentation of your lure is important with trout. My set up is a light spinning rod with braided line tied to a swivel tied to a really light fluorcarbon leader that the fish can’t see.

Braided line allows you to easily feel strikes since it doesn’t stretch while the fluorocarbon leader isn’t visible to the fish.

Good luck and have fun on the river. Remember to be polite and share the river and pick up after yourself.

Disclaimer: I only recommend products I have used and truly would use again. Some of the links on this site are affiliate links and may result in me getting a commission though they don’t affect my reviews.

Trout Fishing on The Lower Salt River

I grew up and have lived in Arizona’s East Valley my whole life. Anyone who lives here and loves to fish will have fishied the Lower Salt River.

The fun thing about the Lower Salt River is it changes with the seasons every year.

The Salt River is a tail water for Saguaro Lake, Canyon Lake and Apache Lake. They open and close the dam to fill or drain the lakes which serve as reservoirs for the phoenix area.

Because the lakes are used as water reservoirs they close the dam in winter to fill the reservoirs back up to store water for the rest of the year.

This causes a high and low water period for the Salt River. During the winter when it’s lower they stock the river with Rainbow trout.

Today I’l talk about regular trout fishing with a spinner rod and bait from the shore.

There’s two main scenarios I’ve encountered on trout fishing on The Lower Salt River. First is the just stocked the river or it’s been a little while since it was stocked.

Sometimes they stock the river while you’re there. It makes for a great day.

It’s important to actually take into consideration if the river was just stocked since this will change how the trout feed.

We’ll talk about the river after it was freshly stocked and how to use bait since I’ve seen freshly sstocked fish tend to prefer it. You can see the stocking schedule on the AZ Game and Fish website

To learn how to use a lure check out my article on how to trout fish the Salt River with a Lure or my article on fly fishing.

If they were just released then dough baits are the way to go. I like to use the powerbait eggs or the gulp nuggets.

I’ve found it’s best to have a few different colors and find the one that works that day, but pink seems to usually come out ahead followed by chartreuse.

Another good option for bait when the trout are freshly stocked are good old fashioned salmon eggs.

With the dough bait or salmon eggs the technique is fairly simple and it changes based on the water flow.

If you’re in a slow moving pool put a splitshot weight about 6-18 inches up from the bait. I normally place it behind the swivel so it won’t slide down as I cast.

You want the bait to float just above the bottom of the river above any rocks as well.

Make sure to cast the line in an area free from tall grass where it’s visible, but close to cover.

once you cast wait a few minutes if you don”t get a bit real it in a little to get the bait in a new spot for different fish to see.

Rainbow Trout caught on the Lower Salt River

I’ve even caught plenty of trout while reeling in a dough bait or salmon eggs.

If the water is moving kinda quickly in the spot you intend to fish you’re going to switch up the strategy.

Trout generally “park” as I call it in a river and face up and swim against the current to hold still and strike at passing food.

When you’re at a moving section of the river don’t use a weight. Just cast your line up river and let it float down past the waiting trout.

You’ll want to cast and let the bait follow a few different paths down the river to pull out any trout in the area.

Once you’ve gone through the area letting your bait go over the surface put a very small piece of splitshot on so that it will still flow with the river but sink down and bounce across the bottom.

It’s important that you use a really small split shot for this technique because you want it to bounce and flow through the river as naturaly as possible.

Once again try and float it down the river in different spots along the same stretch.

Pro tip: when letting the bait drift, cast up and to an angle that way you have minimal slack in the line that you can easily pull out by lifting your rod tip.

With those two techniques you’ll be able to catch trout on the salt river using bait.

Disclaimer: I only recommend products I have used and truly would use again. Some of the links on this site are affiliate links and may result in me getting a commission though they don’t affect my reviews.